
New Laurentia: a mule deer starting point
Look west of the starting main lodge, around the winding yellow road in Wetiko Foothills. Select the Rocky Mountain mule deer group and expand its feeding spots. The example below shows feeding windows of 07:00–12:00 and 20:00–00:00.
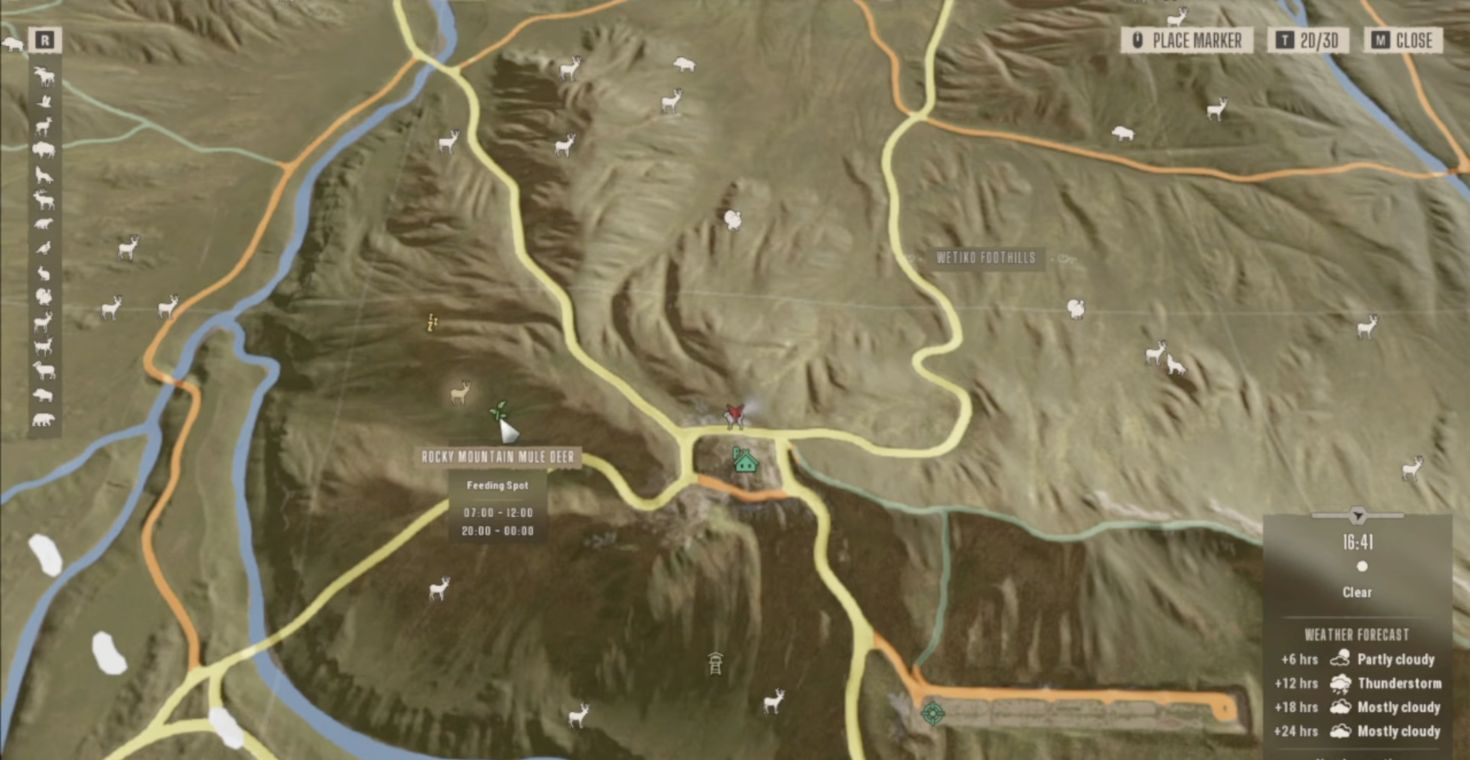
Read the times on your own discovered spot before travelling. The example is a recognizable starting area, not a guaranteed five-star spawn or a promise that an animal stands on the icon.
Kilimaya: Popobawa Vlei hippos
With Kilimaya unlocked, explore the U-shaped riverbank in Popobawa Vlei for common hippopotamus need zones. A demonstrated route begins observing around 07:00 and rotates between placed tents. You can explore on foot before investing in that tent setup.
Use suitable big-game equipment and leave a retreat route: hippos can charge. An undiscovered or locked travel point is not immediately usable just because it appears in another player’s route.
Find and use your own need zones
- Hide unrelated species with the map sidebar filters.
- Select a herd icon and use Toggle animal spots to expand discovered feeding, drinking or resting zones.
- If the map is empty, explore question marks in suitable habitat. Discovering a spot adds its species and zone to the map; an empty map is not proof that no animals live there.
- Read the activity time, adjust time at an unlocked camp if needed, then approach quietly and identify animals through binoculars.
- Use a waypoint for the route and an animal tag for a particular individual. They are different markers.
Camps marked by a green tent and P can support fast travel, time changes and vehicle summoning once unlocked. Stations support travel and summoning, but not time changes. Specific groups, individuals and Fitness vary between saves.